Robot Pool Cleaner Tips: How to Build a Pool?
Designing your backyard swimming sanctuary? Whether you’re looking to have a simple inground pool installed or one with some luxury touches, understanding how it’s built will help you plan your budget, time, and what you’ll need to maintain it in the future — especially if you have a robot pool cleaner in mind from the get-go.
Step 1: Planning & Design
Every good pool starts with a well-laid plan. Consider your pool’s size, shape, depth, and features—like built-in steps or tanning ledges—at this stage. It’s also wise to consider future maintenance: How will a pool vacuum, skimmer, and robotic pool cleaner interface with the design?
Step 2: Excavation
When it’s time to get approval on the design, contractors dig a hole according to your pool’s shape. This is the first visualization change and represents the foundation of your pool. Ensure that you’re starting to think about how to drain your pool—learning how to drain an inground pool without a pump will be useful in the future.
Step 3: Install the plumbing & electricity
Here, you lay piping for water circulation and electrical lines feeding lighting, heating, and your future no-sweat robotic pool cleaner or booster pump.
Step 4: Structural Framing
Next is framing, whether your pool is made from concrete, fiberglass, or vinyl. Concrete pools are reinforced with rebar; fiberglass pools are dropped in. When this structure sets, you can use a vacuum cleaner for the pool or a wall surface climbing-up pool cleaner for effective cleaning in the future.
Step 5: Surface Installation
Vinyl liners are installed for vinyl pools, fiberglass shells are finished, and concrete pools are plastered. Whether smooth or textured, a swimming pool’s surface will eventually be cleaned by swimming pool cleaning tools such as the pool vacuum robot or swimming pool robot cleaner. Some surfaces might need periodic deep cleansing—be sure you appreciate how to acid flush the pool if needed.
TOPICS: Final for the Pool: Step 6: Tile, Coping and Decking
Tile and coping provide your pool with a visual edge, while decking—concrete, pavers, or stone—shapes your outdoor space. These facts affect how a pool-cleaning robot navigates edges or jumps from one surface to another.
Step 7: Filling & Chemical Balancing
After construction is finished, the pool is topped off with water, and the chemical levels are adjusted. A skimmer starts the job right away, while the newest robotic tools, such as Maytronics pool cleaners or Beatbot AquaSense 2 Ultra, 2 Pro, and 2, do the whole job at the pool from the word go.
“Will a pool robot pick up algae?” you ask. Yes, especially if your model has scrubbing for algae and fine filtration. If they aren’t, then a pool vacuum for algae is a useful supplementary tool.
Step 8: Ongoing Maintenance
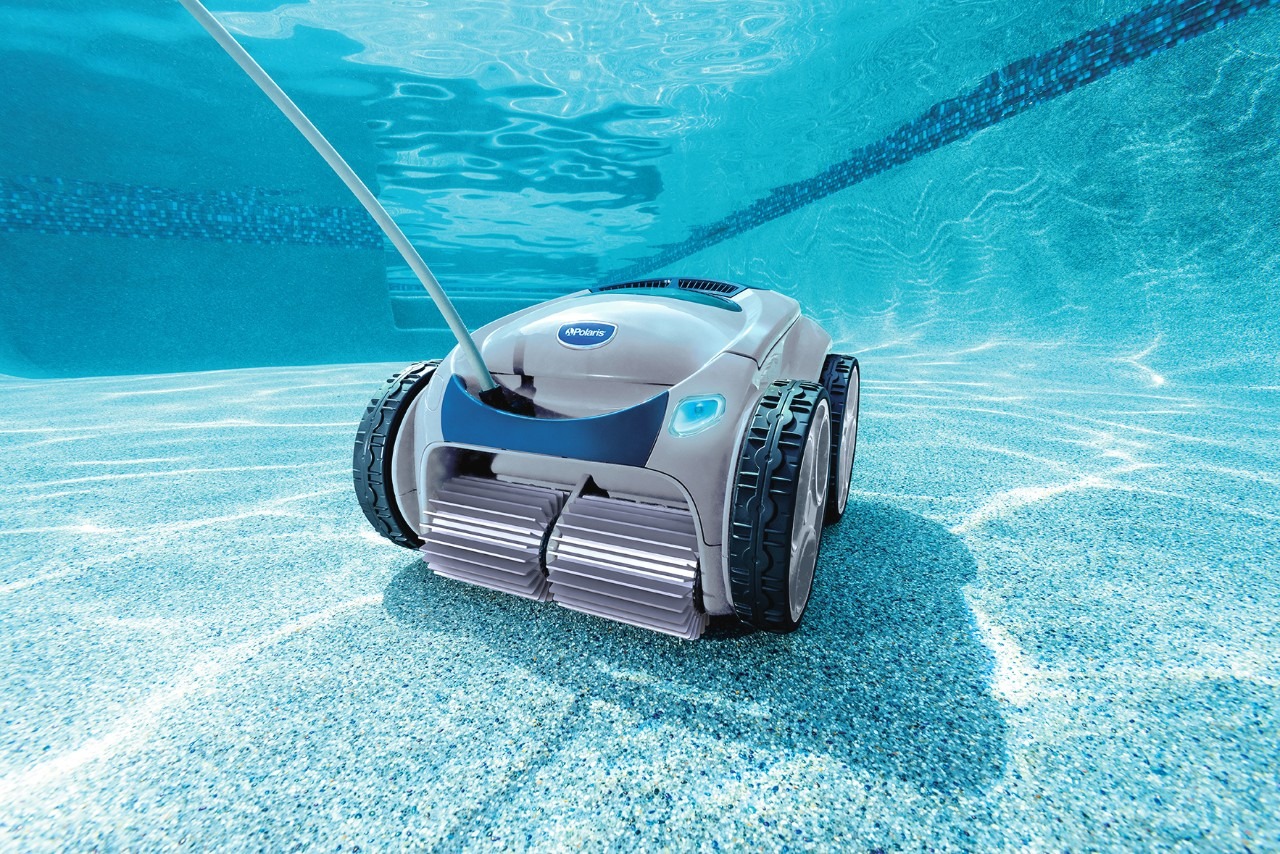
The last and most ongoing step is maintenance. After your pool is up and running, keeping it clean is the most important step. That is when your investment in a robot pool cleaner really pays off. Combine it with a skimmer, a booster pump, and periodic manual equipment for a clean, low-maintenance pool.
Conclusion
Getting a pool built is a process full of excitement, from design to digging, plumbing, surfacing, and maintaining. With forward planning and tools like a robot pool cleaner, you can keep your pool fresh and enjoyable for years. In today’s world of precise ergonomics and energy-saving features, pool maintenance has never been easier with innovative options available from Beatbot, such as AquaSense 2 Ultra, AquaSense 2 Pro, and AquaSense 2.